~/guides/OPENBOT.md
OpenBot: the free desktop app that turns Claude, Codex and Gemini into a team of AI colleagues, each on its own project
Each agent gets its own workspace, a task queue and agent-to-agent messages and files. Install, first agent, queue basics, full-access and licence caveats.
Watch the reel on InstagramComment #OPENBOT to get this guide
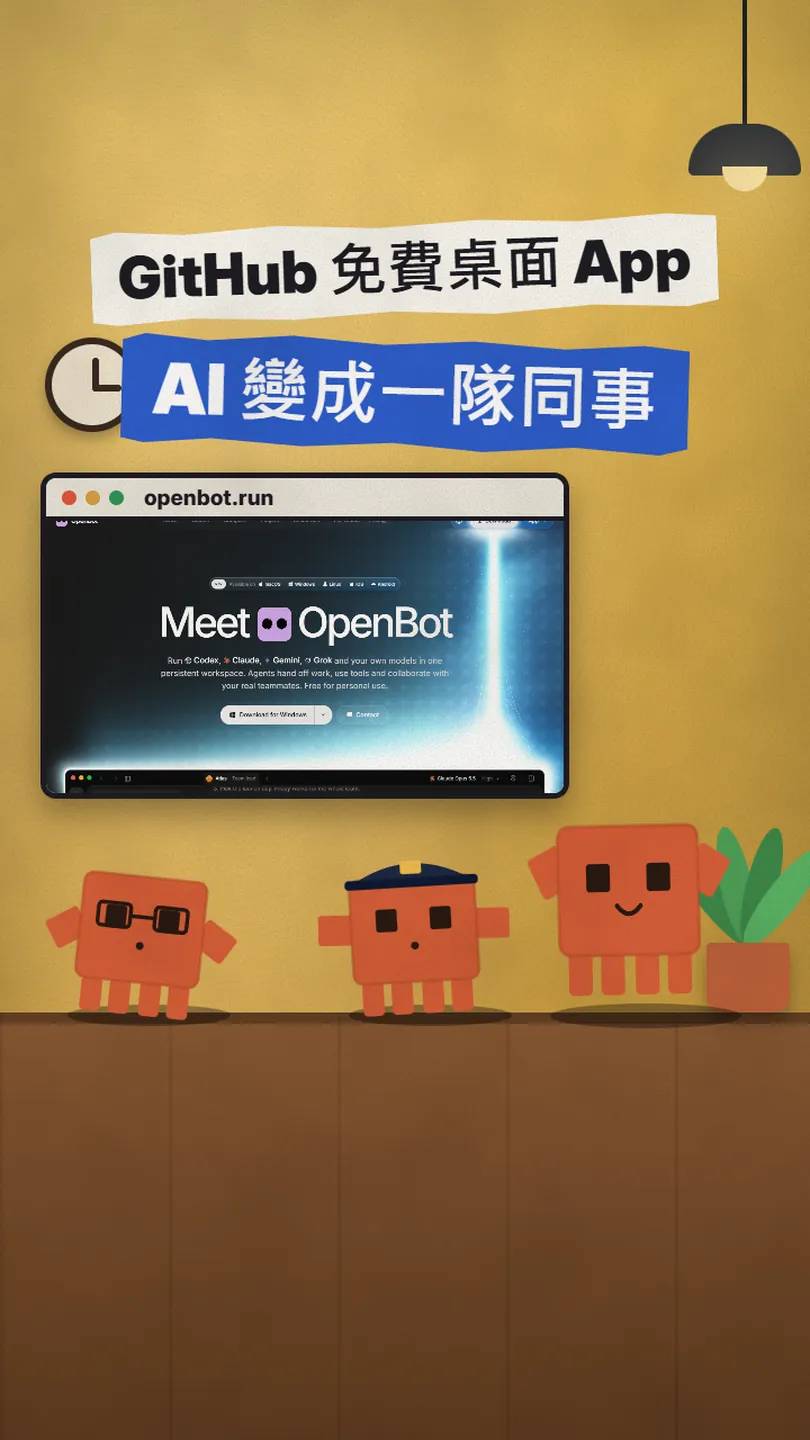
One Claude Code window, one Codex window, one Gemini tab, each chatting on its own and stepping on each other's files. This is the full version of my OPENBOT reel: OpenBot, a free desktop app on GitHub, puts those agents into one workspace where each runs its own project, tasks queue up and work is handed over. Install steps, features and the licence were checked against the official README and site on 2026-11-18; I did not install it myself, and the last section says why.
01What you get: a team of AI colleagues on one computer
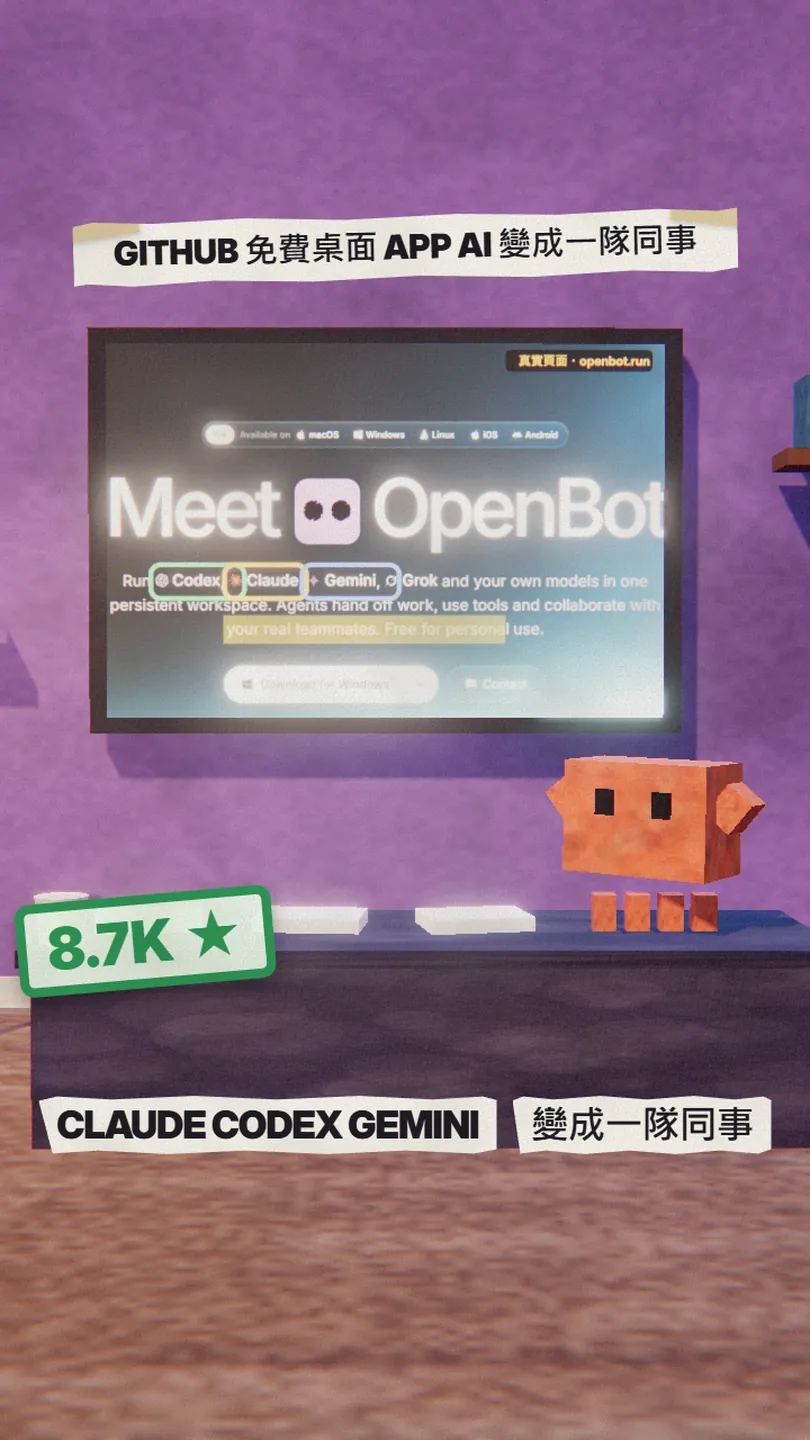
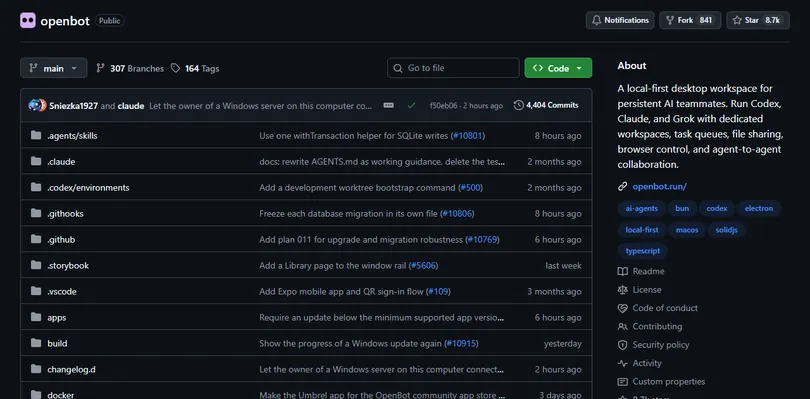
OpenBot is a desktop app (macOS, Windows, Linux) by nightly-labs with its source public on GitHub. It puts agents such as Claude Code, Codex and Gemini into one workspace. Once installed you have:
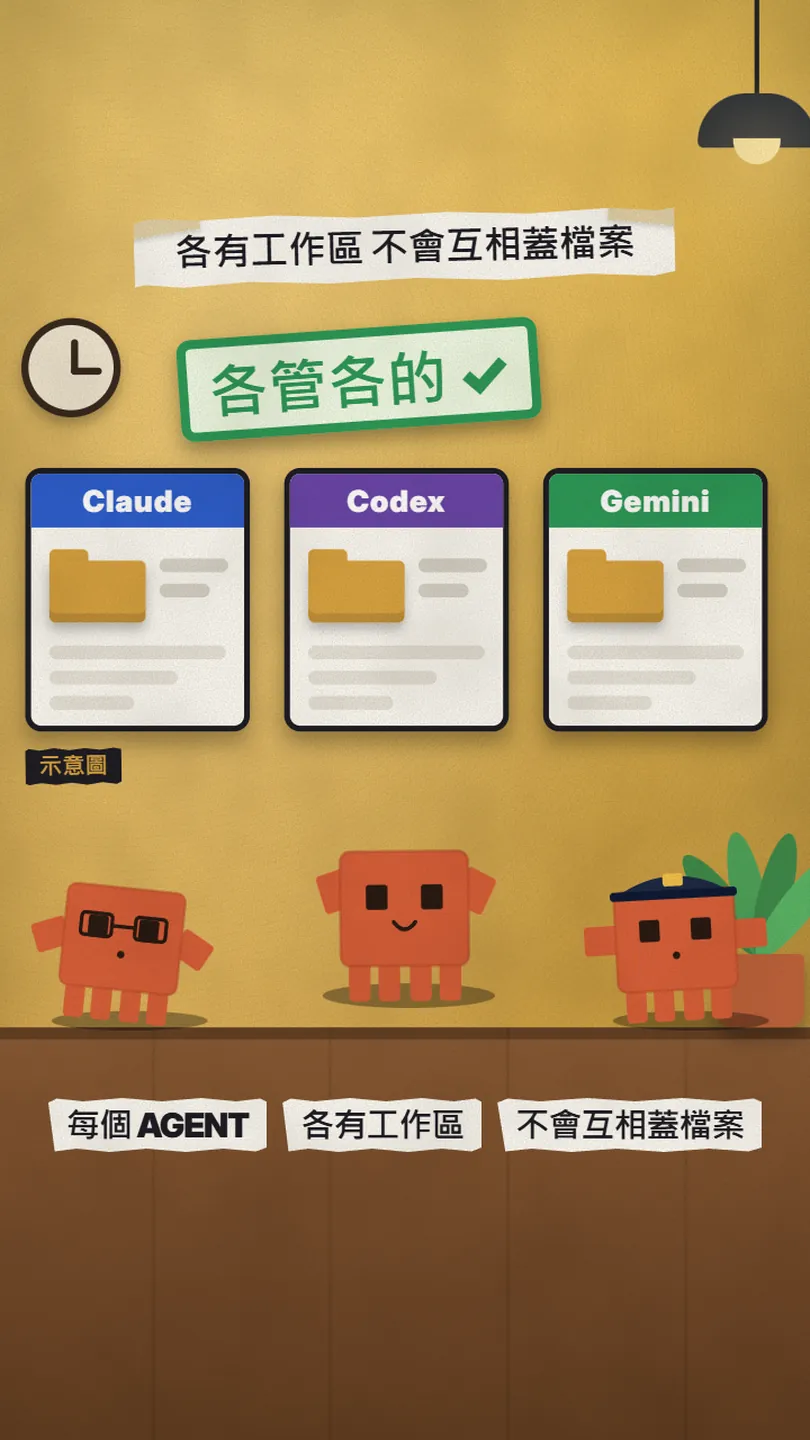
- A workspace folder and a conversation per agent, each on its own project, so they never overwrite each other's files.
- A task queue: drop work in, it runs in order; pause, resume and cancel on the same screen.
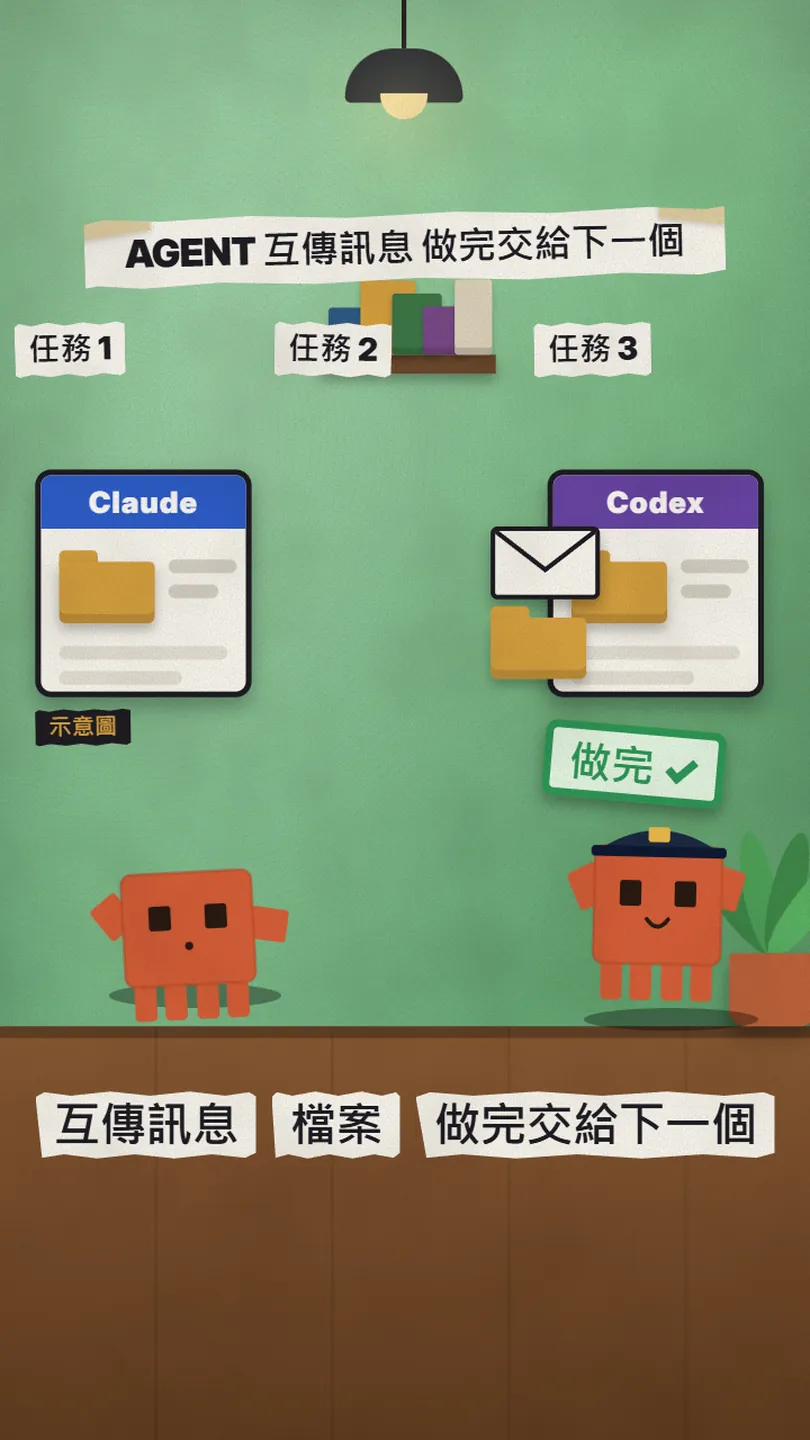
- Agent-to-agent messages and file transfers, so one finishes and hands over to the next; or a shared channel with one agent as task owner delegating.
- A built-in browser the agents can open, inspect and control themselves.
02Install: Mac, Windows and Linux
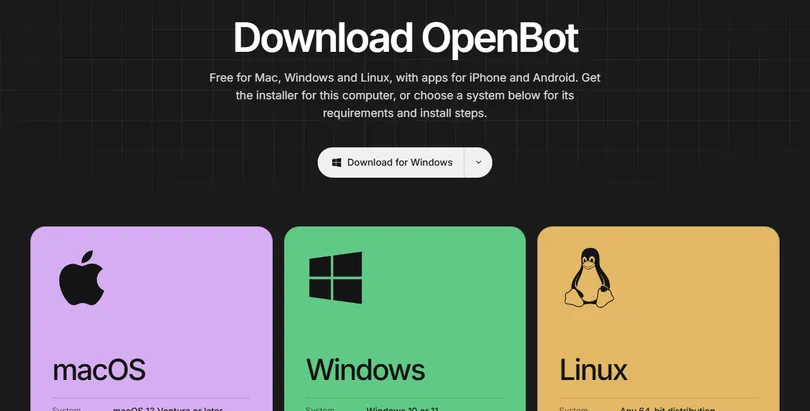
Installers live on GitHub Releases (openbot.run/download points to the same place). Requirements per the README: macOS 13 or newer (Apple silicon or Intel), Windows 10 or newer on x64, Linux as an AppImage (x64 or arm64).
- Mac: download OpenBot-*-arm64.dmg (x64.dmg on an Intel Mac), drag it to Applications and open it.
- Windows: download OpenBot-*-x64.exe, run the installer, open OpenBot.
- Linux: download OpenBot-*-x86_64.AppImage, chmod +x it and run it. On Ubuntu 23.10+ and Debian 13 install the AppArmor profile from the README first.
- The first launch asks you to consent to full agent access; read the Good to know section below before you click.
03Create your first agent and its workspace
The README describes prompt-driven creation: you describe the agent's role and rules, OpenBot generates its name, avatar and instructions, you review each section and save. Each agent is tied to one provider (Claude, Codex, Gemini...) and its own workspace. I did not install and run it myself; the steps below follow the README.
- Open OpenBot, add an agent and describe what it is responsible for in a paragraph (you can paste the one below).
- Review the instructions it generates, remove what you don't want, save.
- Pick the provider: for Claude choose Claude Code (OpenBot downloads the CLI, or uses the one you already have) and sign in; same for Codex and Gemini. Gemini needs a Google AI Pro or Ultra plan.
- Point this agent's workspace at one project folder. Open a second agent for another project; each keeps to its own.
You are the front-end engineer of [project name]. Your workspace is [project folder path].
Rules:
1. Only change files inside this folder; read README and package.json before you start.
2. After each task, report in three lines: what changed, how you verified it, what risks remain.
3. When you need backend data, message the backend agent "[backend agent name]" instead of guessing the API.
4. Never delete files, change git settings or install global packages.
04Queue, messages between agents, built-in browser
These three are listed under What works in the README, and they are the biggest difference from a pile of separate chat windows.
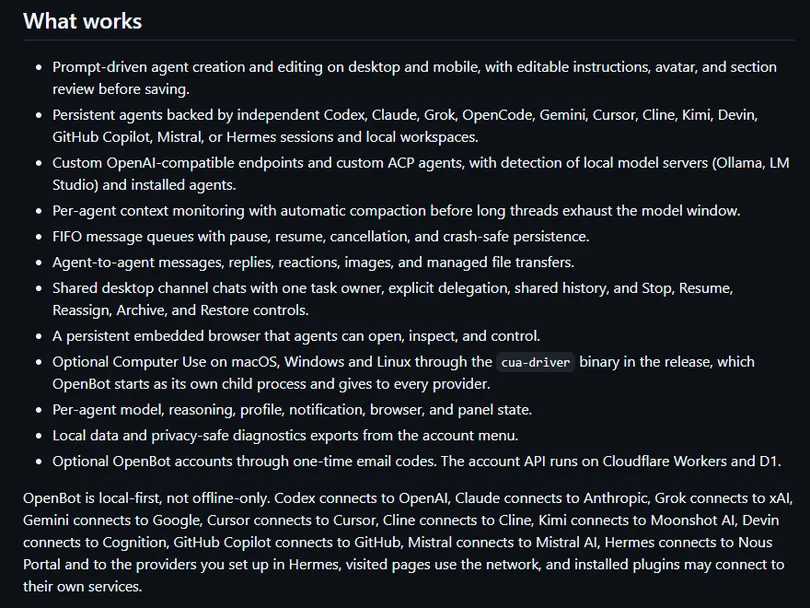
- Queue: tasks you give an agent sit in a FIFO queue with pause, resume and cancel, and survive a crash.
- Hand-off: agents send each other messages, replies, images and files; a shared channel has one task owner who can delegate explicitly, with Stop, Resume and Reassign.
- Browser: the app has a persistent browser that agents open, inspect and control; letting them drive the whole computer (Computer Use) is a separate option, off by default.
- Each agent has its own model and reasoning setting, and long threads are compacted automatically.
05Good to know
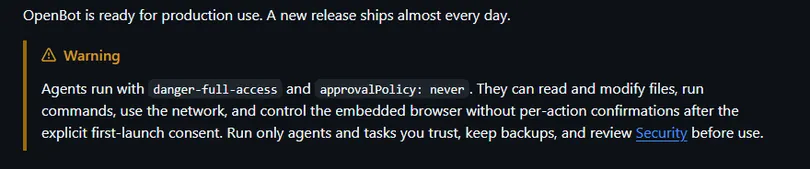
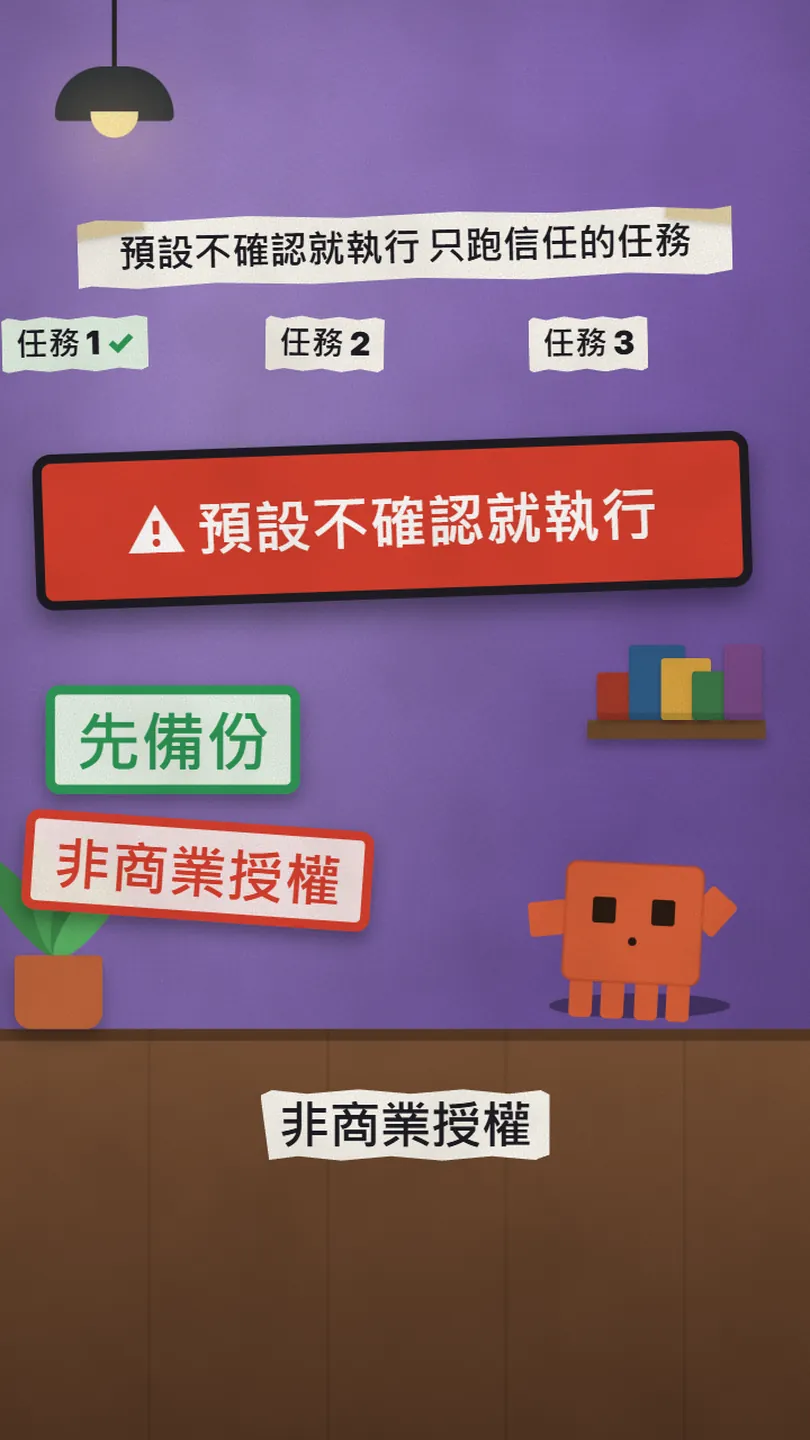
- Full access by default, no per-step confirmation: the README says agents run with danger-full-access and approvalPolicy: never; after the first consent they read and write files, run commands, use the network and drive the browser without asking. Keep backups, run only agents and tasks you trust, keep projects in git.
- The licence is not open source: PolyForm Noncommercial 1.0.0, free for personal, non-commercial use with public source; commercial use needs a separate licence (Starter or Team under Settings → Billing). Only versions up to 0.1.11 were Apache-2.0.
- Local-first is not offline: your data stays on your machine, but each agent still calls its own provider (Claude to Anthropic, Codex to OpenAI, Gemini to Google), and their quotas and costs apply.
- Versions change almost daily, so menus and steps may differ from this page; everything here follows the README as of 2026-11-18. Re-read Releases and the README before installing.
- All app visuals here are official page screenshots and my illustrations; I did not install or run it on this computer.
- OpenBot official repo (README, Releases) — source, install notes, warning
- openbot.run — official site and download page
Sources
What should the next reel cover?
I test Claude and AI tools every day and turn the useful ones into reels. Follow @vivianlin.tech to catch each new guide.