~/guides/GAMEDEV.md
Claude Code makes demos, not games? 77 free game-dev skills and a router: install and use
An open-source repo gives Claude Code 77 game-dev skills and a router for Godot, Unity, Unreal and web games: install, how to ask, two skills, caveats.
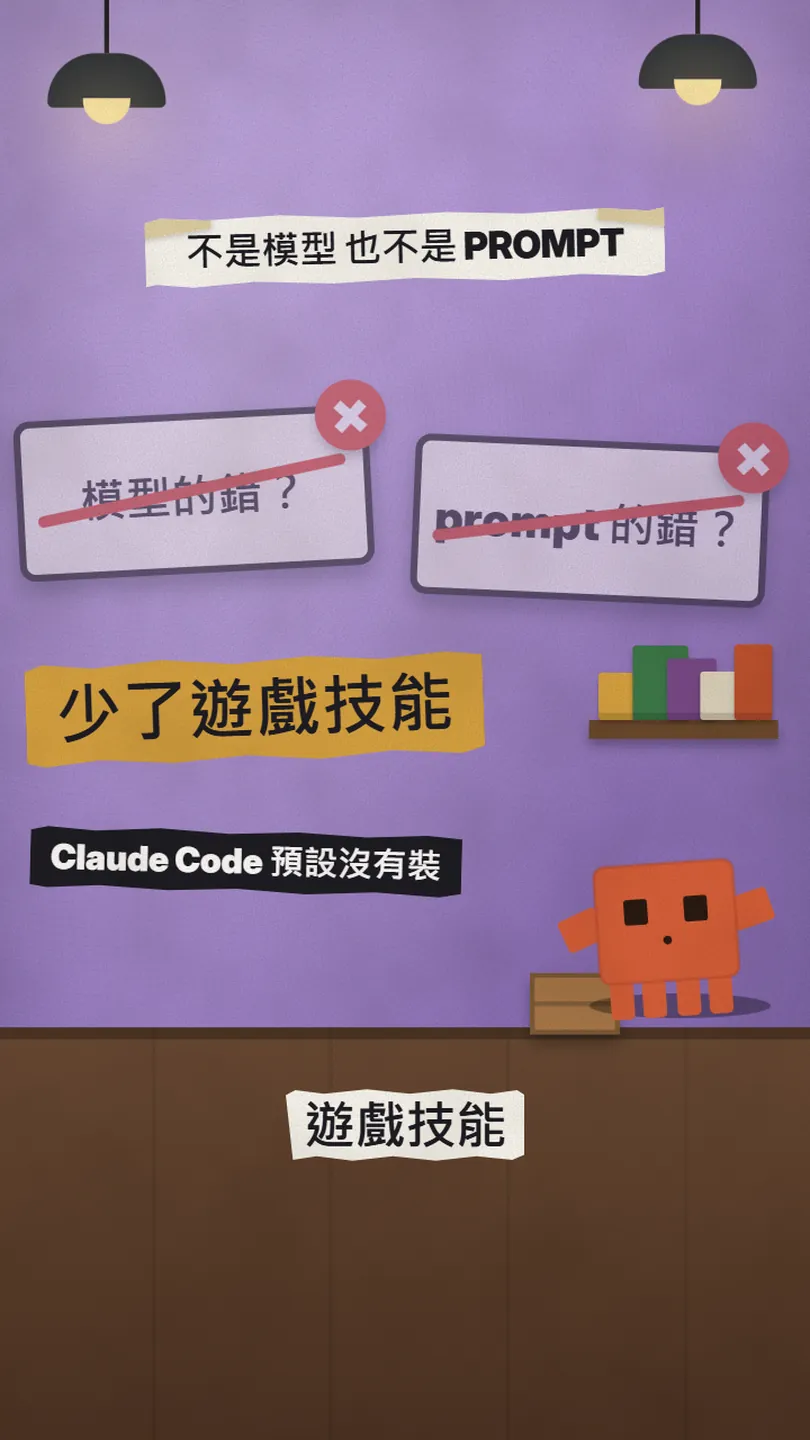
Ask Claude Code for a game and it often runs, but it looks like a demo: no game feel, and assets that don't belong together. That is usually not the model and not your prompt. Claude Code simply has no game-dev skills installed by default. An open-source repo on GitHub gives it 77 of them at once, plus a router that picks the right ones, covering Godot, Unity, Unreal and web games. This is the full version of the GAMEDEV reel: what is in the repo, the install commands, how to ask, the two skills I would use first, and what to watch out for. To be clear up front: I have not installed or tested it yet; everything below follows the official README and the skill files.
01What you get: 77 skills plus a router that picks for you

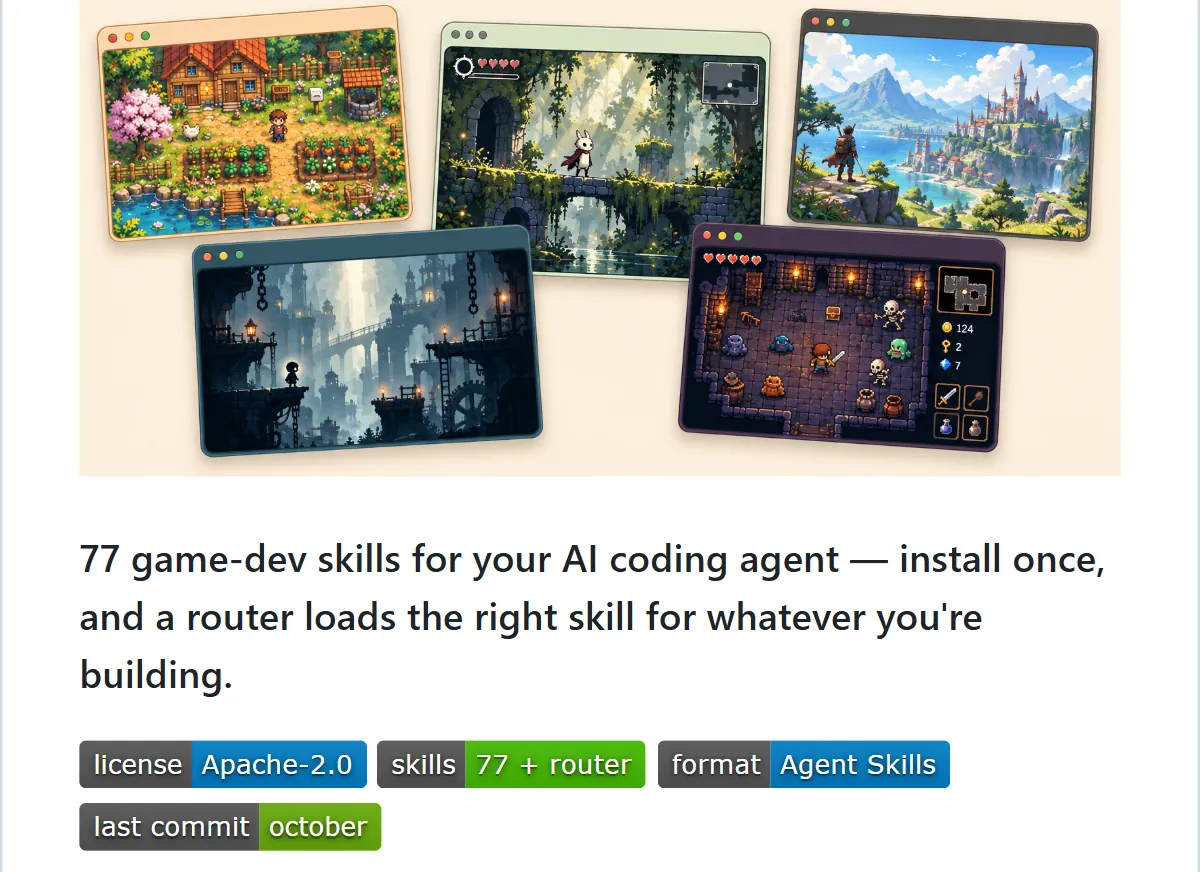
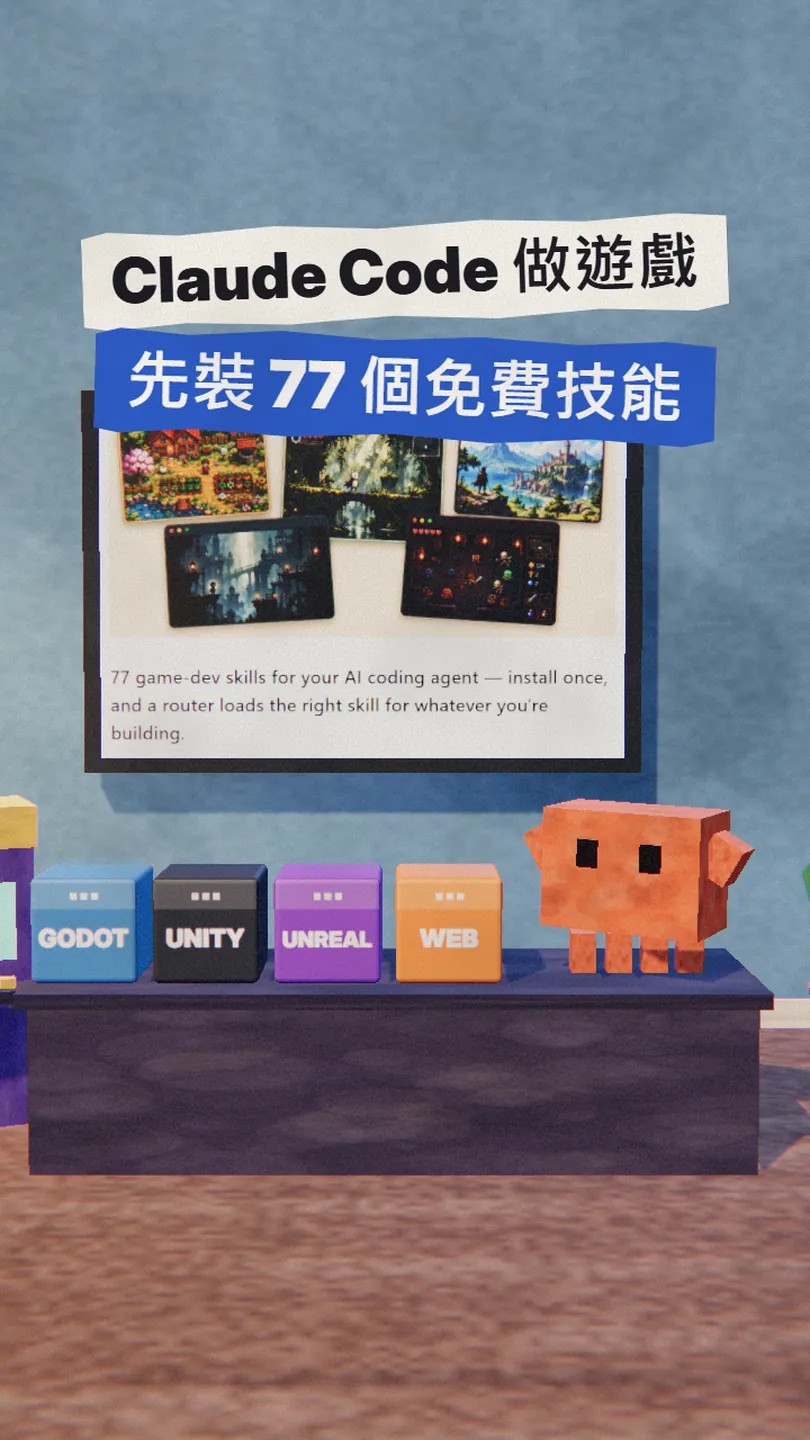
The repo is called awesome-gamedev-agent-skills. It is free and open source under Apache-2.0. The README opens with: 77 game-dev skills for your AI coding agent, install once, and a router loads the right skill. I counted the files on 9 November 2026: 78 SKILL.md files, which is exactly 77 skills plus 1 router.
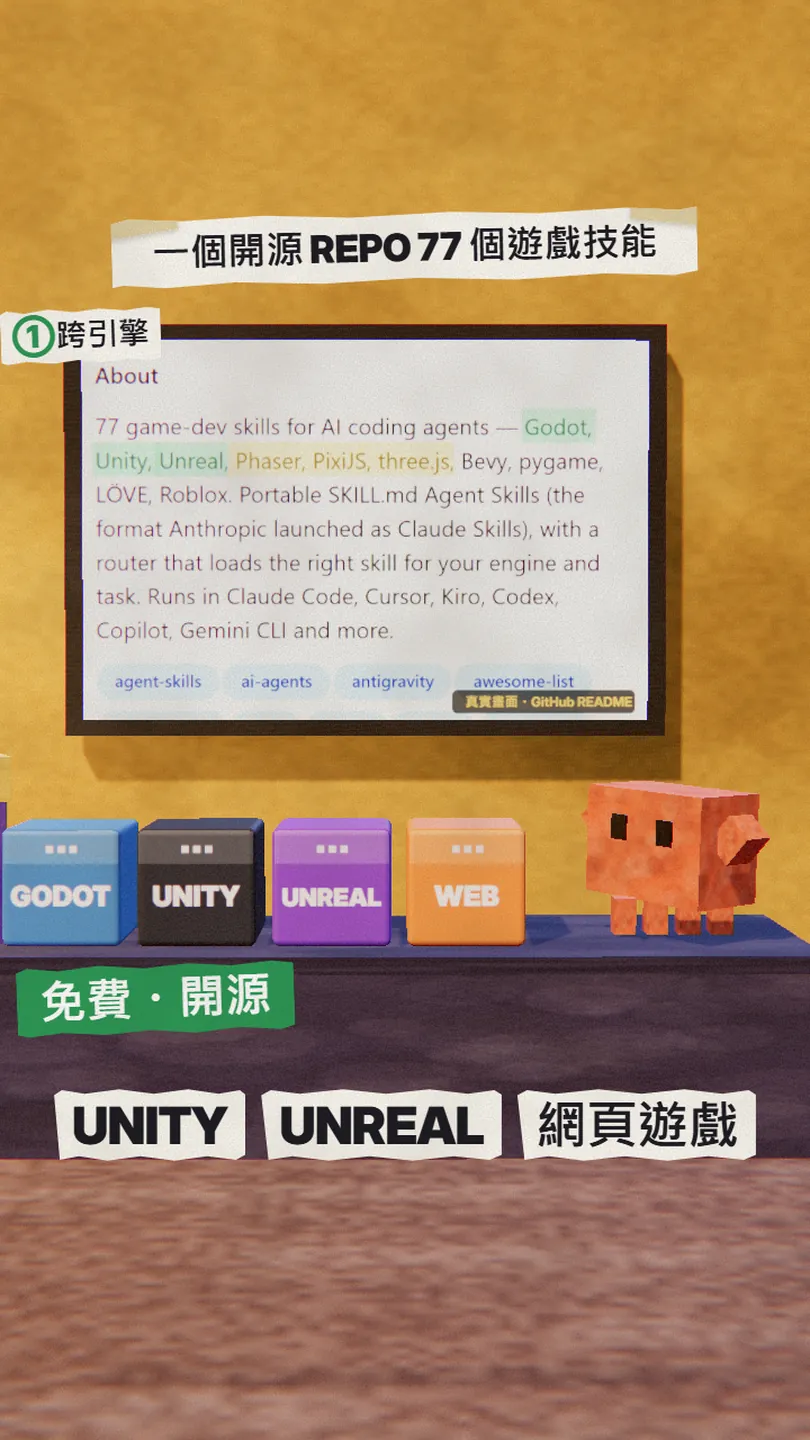
- Engines: Godot 16, Unity 8, Unreal 6, Ebitengine 1, web engines 6 (the README names Phaser, PixiJS and three.js), other engines 12 (the README also lists Bevy, pygame, LÖVE, Defold and Roblox).
- Disciplines: 15, such as game feel, save systems and making assets.
- Genres: 9, such as platformer, RPG and roguelike.
- Workflows: 4.
Follow this guide and you will have:
- The install commands: everything in one line, Claude Code's own plugin commands, or just one engine.
- How to ask: describe what you are building, and how the router picks skills.
- The two skills I would use first, game feel (game-feel) and art direction (create-game-assets), each with a prompt you can paste.
- What to watch out for, including the fact that I have not tested it yet.
02Step 1: install it (one command)
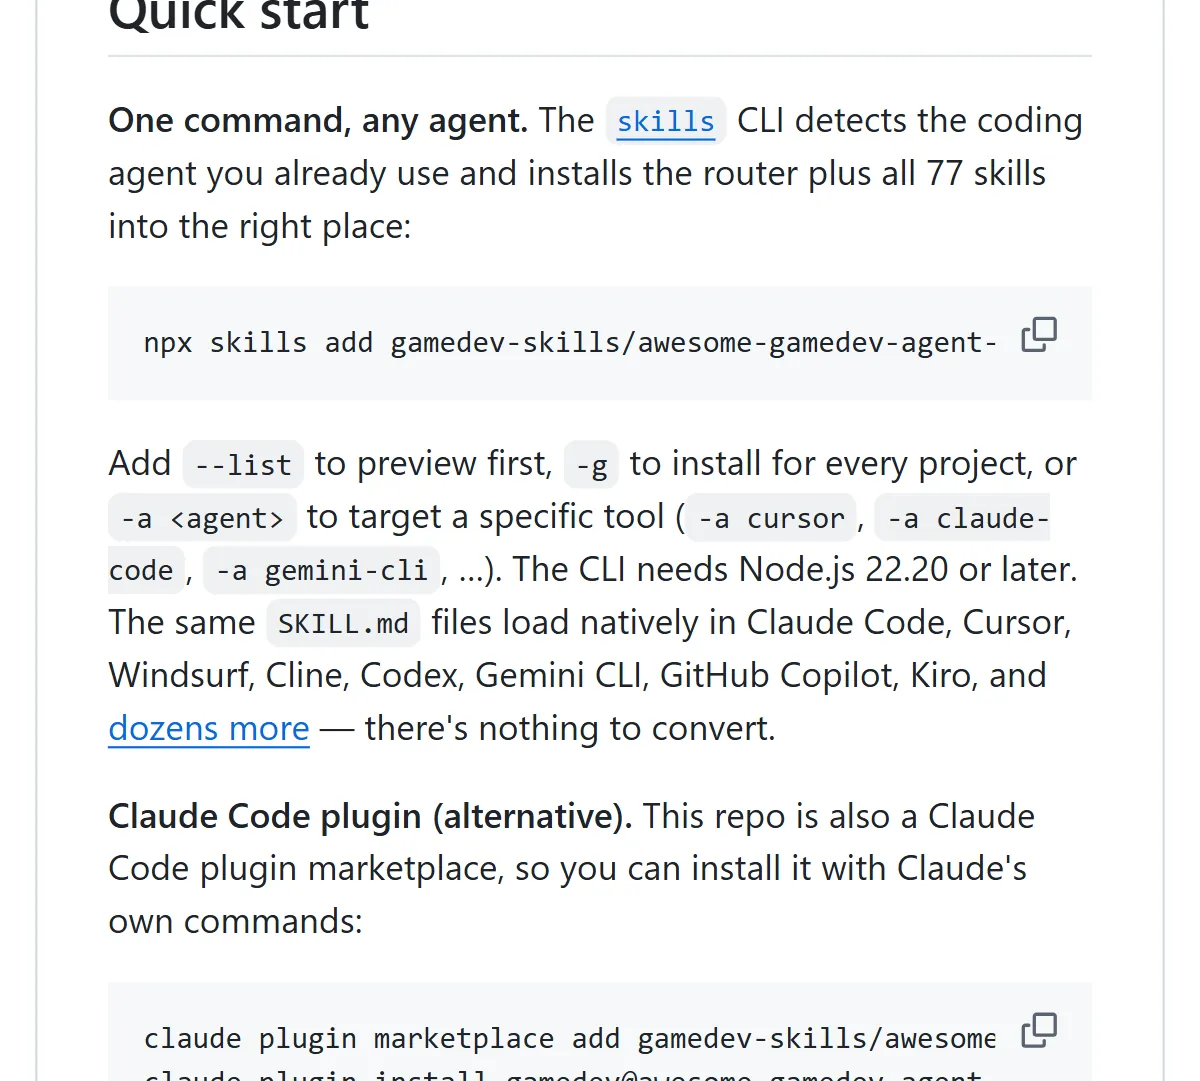
Open a terminal in your game project folder and run the line below. The README says it detects which coding agent you use and puts the router plus all 77 skills in the right place. It needs Node.js 22.20 or later.
npx skills add gamedev-skills/awesome-gamedev-agent-skills
The repo is also a Claude Code plugin marketplace, so you can install it with Claude's own commands instead:
claude plugin marketplace add gamedev-skills/awesome-gamedev-agent-skills
claude plugin install gamedev@awesome-gamedev-agent-skills
If you only build in one engine, the README suggests a smaller bundle: the router plus your engine.
claude plugin install router@awesome-gamedev-agent-skills
claude plugin install [godot]@awesome-gamedev-agent-skills
03Step 2: describe the task and the router picks the skills
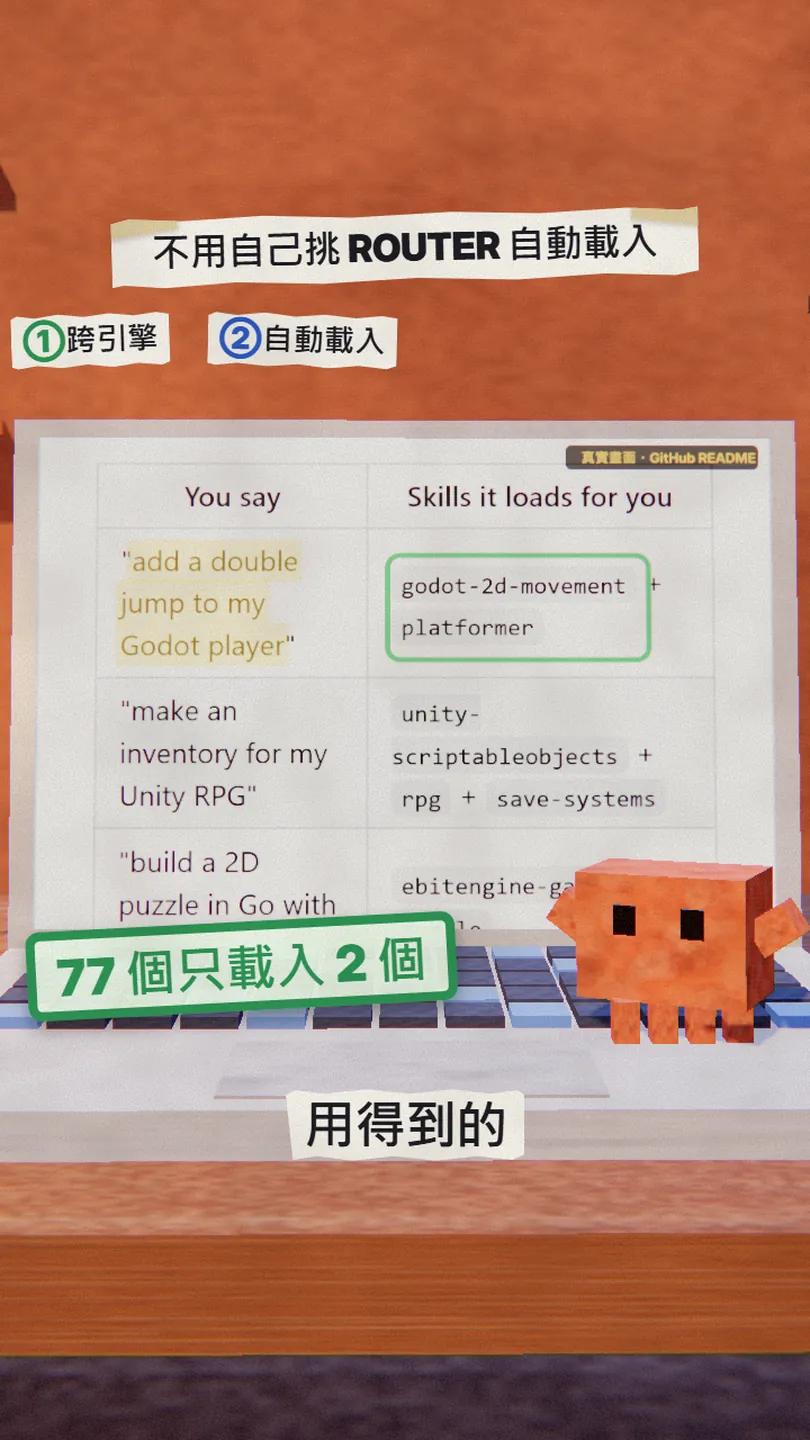
Once it is installed you never have to remember a skill name. The README says the router does three things on each request:
- It detects your engine from project files: a project.godot means Godot, a *.uproject means Unreal, and so on. If it can't tell, it just asks.
- It reads your request for the task: a concept (AI, shaders, saving), a genre (platformer, roguelike) or a shipping step.
- It loads only the matching skills: engine basics first, then the concept, then the genre. It re-routes when you switch to something new.
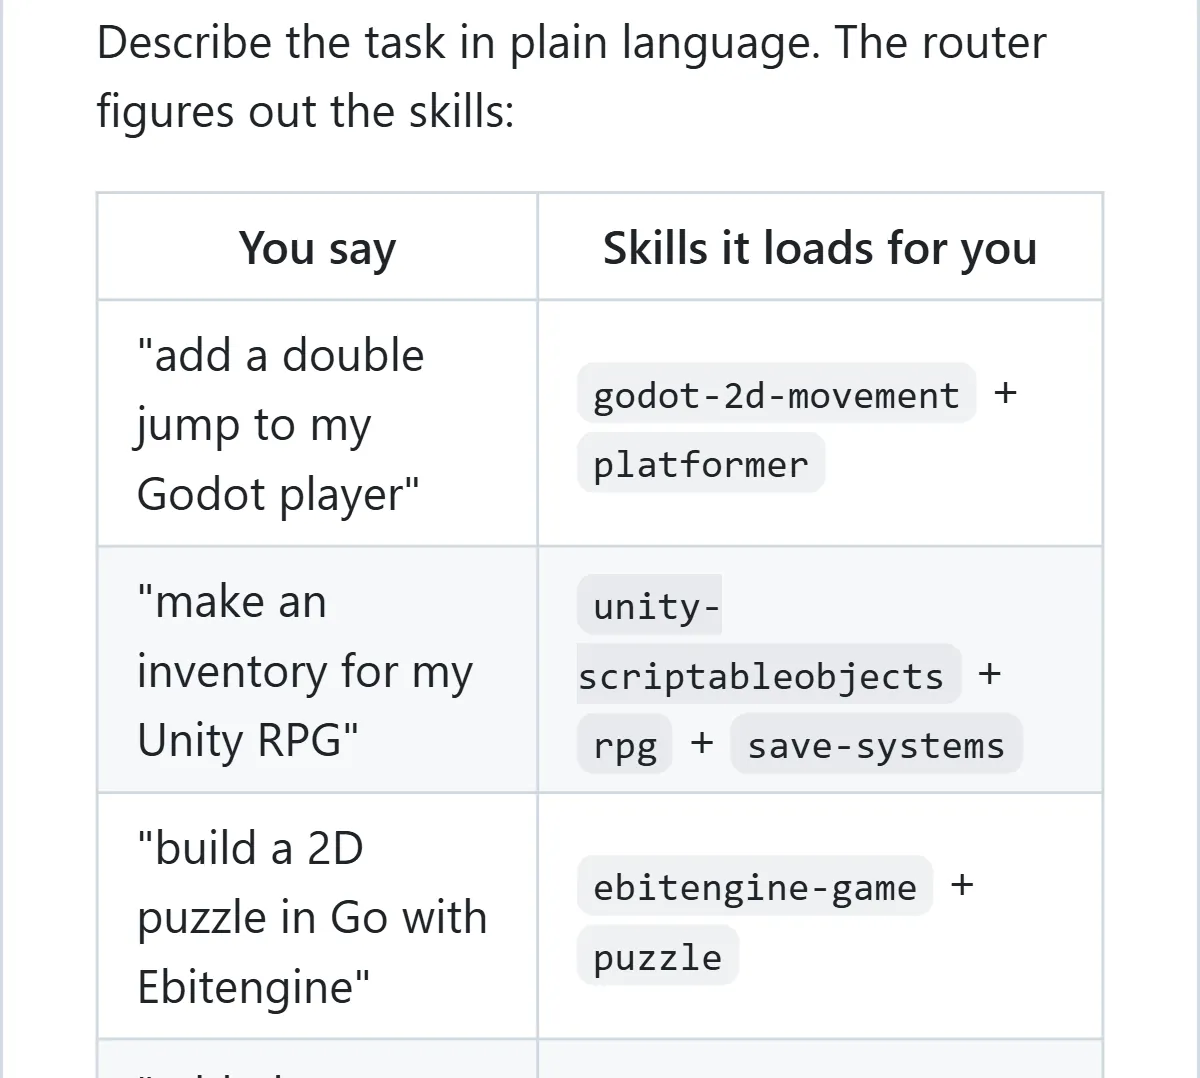
The README's own example: say "add a double jump to my Godot player" and it loads godot-2d-movement and platformer and nothing else. You can ask in the same shape:
Add [a double jump] to [the player] in my [Godot] project. Tell me which skills you loaded first, then make the change.
I want [an inventory system] that saves in my [Unity] [RPG] project. List the skills and the approach you will use first, and start coding after I confirm.
04The two skills I would use first: game feel and art direction
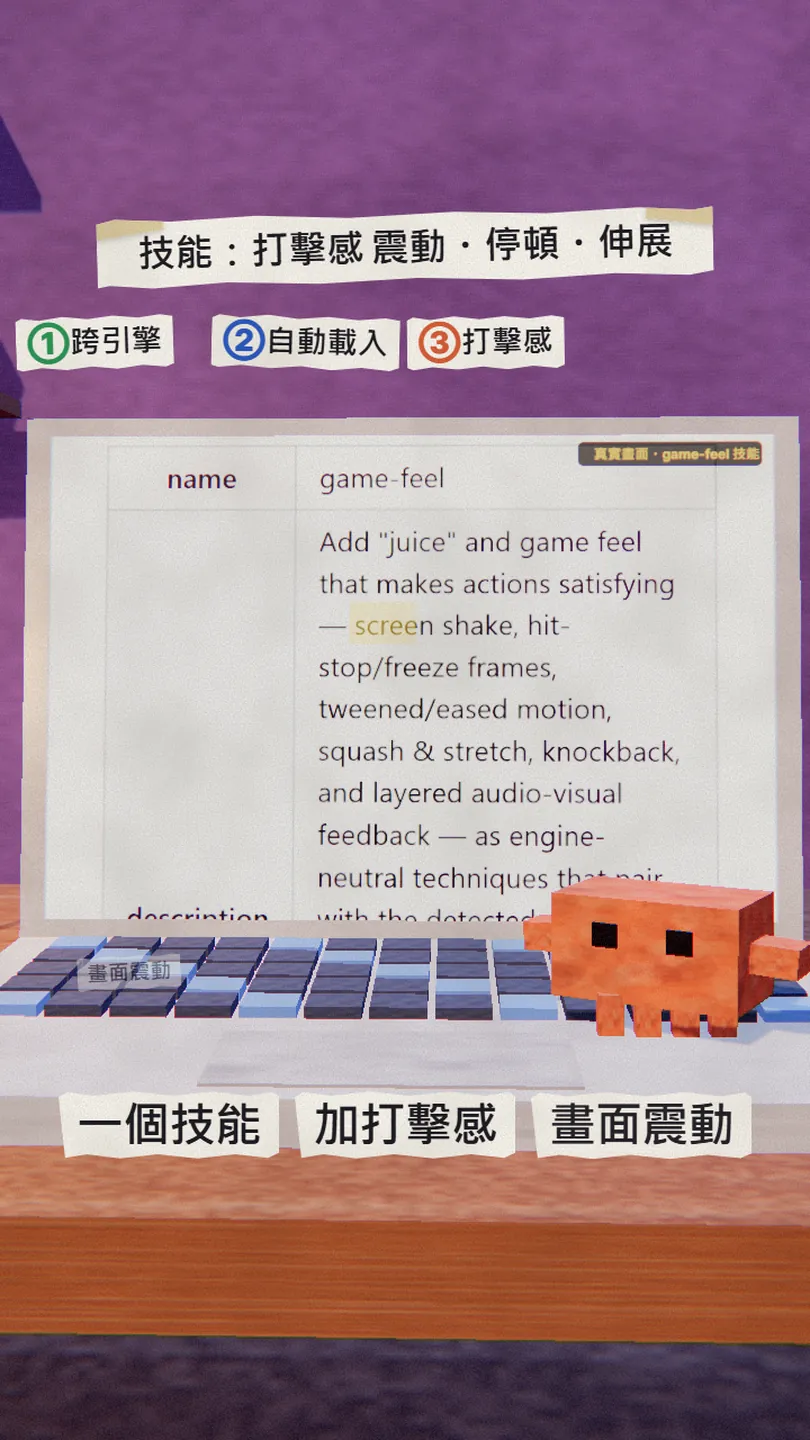
The first is game-feel. Its description says it adds "juice" and game feel that makes actions satisfying: screen shake, hit-stop / freeze frames, tweened and eased motion, squash & stretch, knockback and layered audio-visual feedback. It adds polish on top of a mechanic that already works, so get the character moving and hitting first, then ask for it.
Add game feel to [the player's attack]: a small screen shake and a few frames of hit-stop on impact, and squash and stretch when the character lands. Make each one a tunable value and start with conservative defaults.
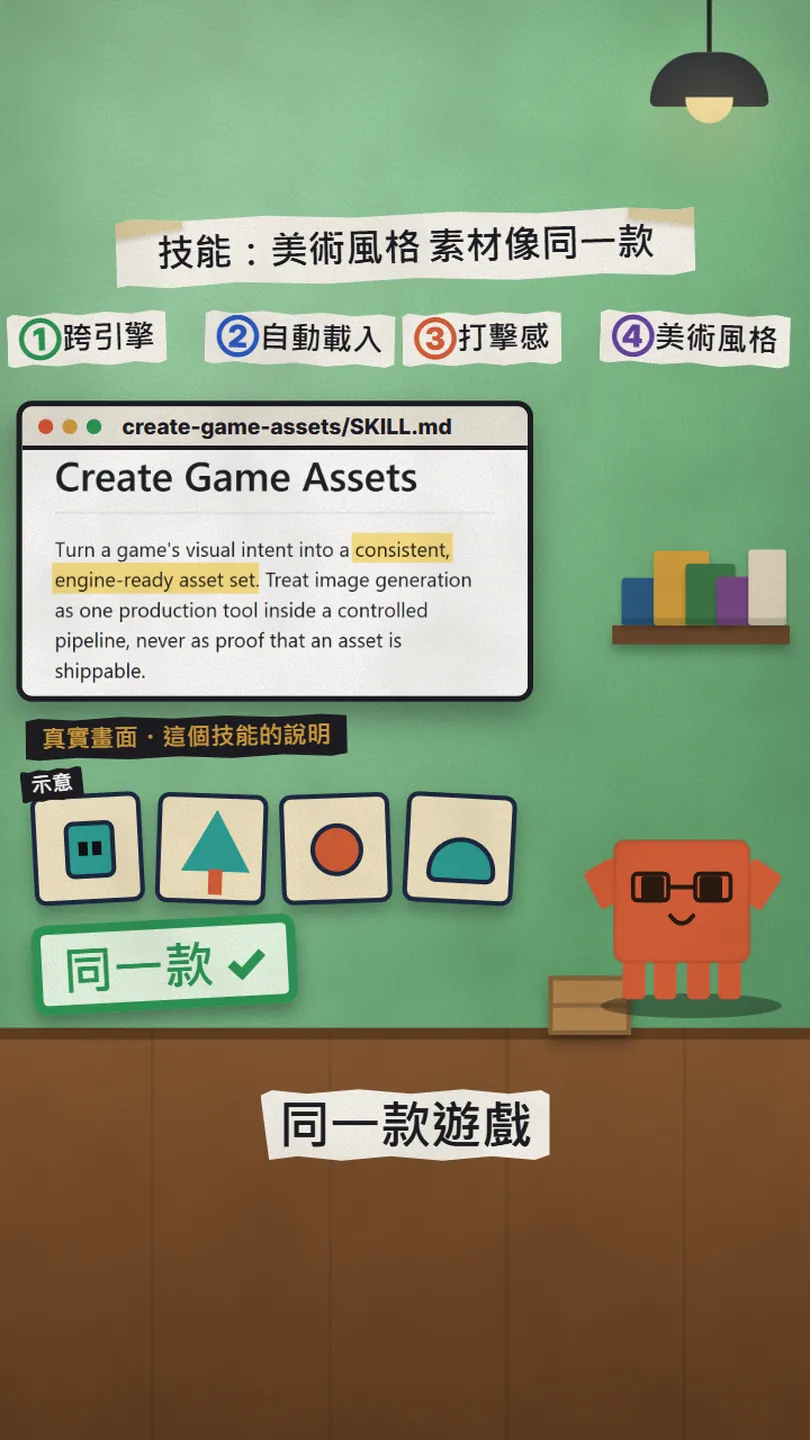
The second is create-game-assets. Its first line: turn a game's visual intent into a consistent, engine-ready asset set. The README calls it "art direction, not one-off generations": lock a visual target first, then build families. The skill also has a line I like: treat image generation as one production tool inside a controlled pipeline, never as proof that an asset is shippable.
Before making any asset, lock one art style for this game: palette, line weight, resolution and camera angle. Write it up as a short style note for me to confirm, then make [the player, the enemies and the tiles] to that note.
05Good to know
- I have not installed or run these skills yet. The pages in this guide and in the reel are real captures of the repo (9 November 2026), and the usage follows the README.
- Skills are guidance that Claude reads, not a guarantee. Whether the game is complete or fun is still up to you to play and fix.
- The banner image on the repo page still says "74 skills · 10 engines", but the README text, the badge and the files I counted all say 77 skills plus the router, and the banner's alt text says 12 engines. Go by the README text; the numbers may change again.
- The game pictures on the banner are the repo's promo art, not games I made with these skills. The grey boxes at the start of the reel are our own illustration too.
- The npx line needs Node.js 22.20 or later; update Node first if yours is older.
- The README says every skill is pinned to a stated engine release. If your engine version is far from it, ask Claude to check the approach still applies.
- This is a third-party repo, not an official Anthropic one. You can add --list before installing to see which files it will add.
Sources
What should the next reel cover?
I test Claude and AI tools every day and turn the useful ones into reels. Follow @vivianlin.tech to catch each new guide.