~/guides/EXPLAINER.md
Lemo-Opuscar: Claude Code makes animated films in code, 66 ready styles, and your own
A free, open-source Claude Code plugin: describe a film and it writes, voices, scores and renders it frame by frame in code. Setup and first prompt.
No editing to learn and no AI video model: Lemo-Opuscar is a free, open-source Claude Code plugin with 66 ready-made film styles, where every frame is drawn by Claude writing code. I checked its GitHub page and README on 2 November 2026. This is the full version of my EXPLAINER reel: what it makes, how to install it, what to say first, and how long it takes.
01What you get
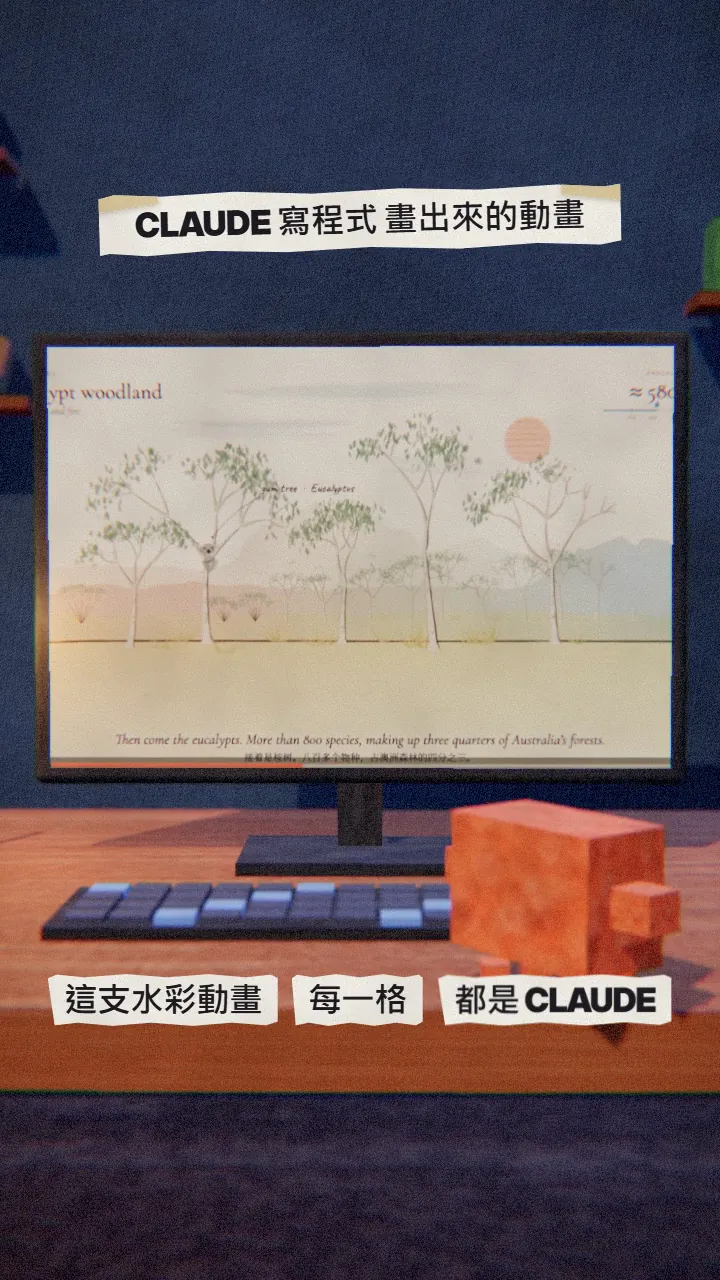
Lemo-Opuscar is a toolbox of film styles for Claude Code: each style is a style prompt plus a demo film made entirely in code. Pick a style, say what you want to film, and Claude works like a small studio, from the story to the voiceover and the score, then renders the film frame by frame. The project says it uses no video-generation model and no stock footage.
In this guide:
- Where to browse the 66 styles.
- The two install commands.
- A first prompt you can copy.
- How to turn a style into your own brand version.
- How much time and how many tokens a film takes.
02What it is: free, open source, 66 ready styles
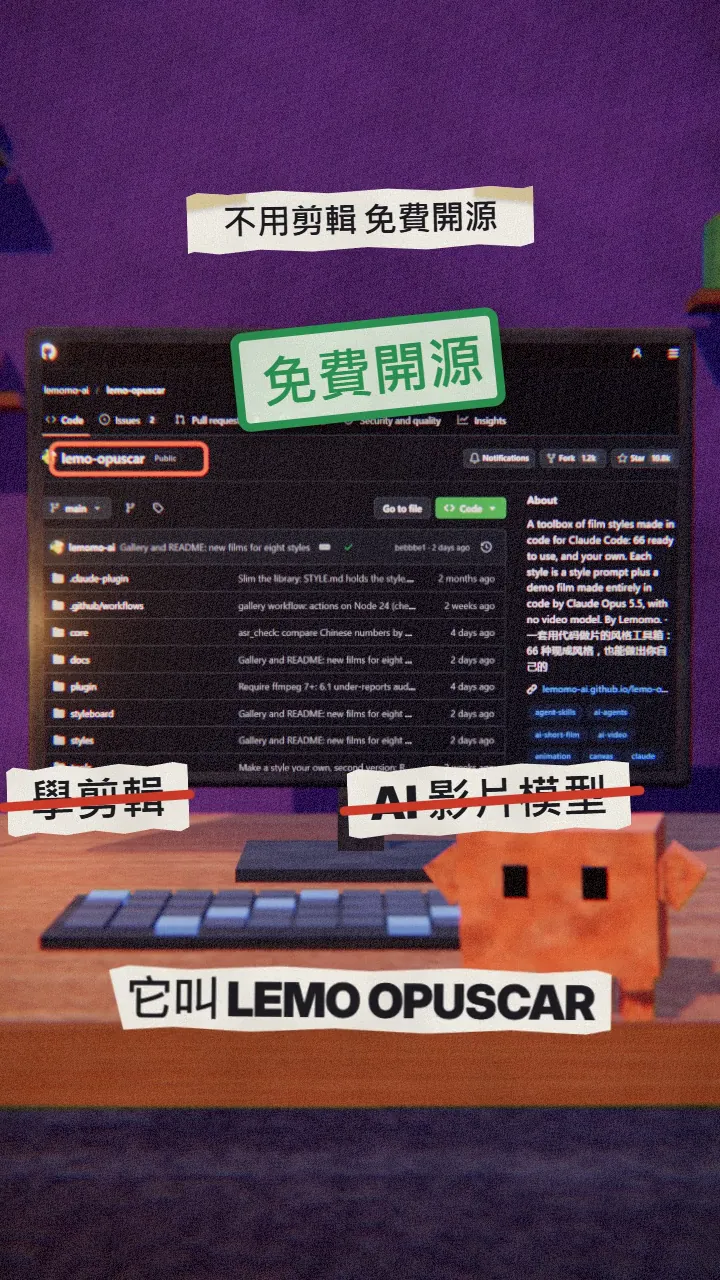
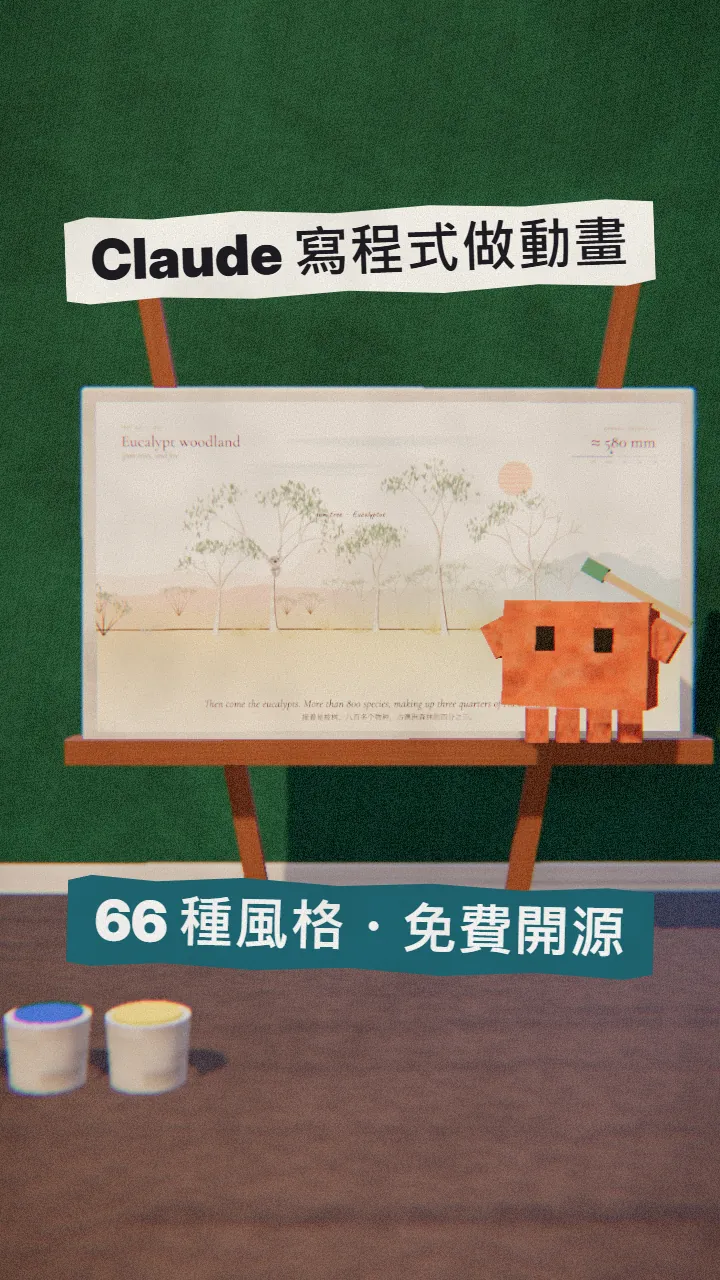
The code is MIT-licensed and the demo films and stills are CC BY 4.0. The 66 styles include watercolor, whiteboard, chalkboard, a 1920s newsreel, a transit map, ukiyo-e, pixel RPG and paper pop-up, and each one has a demo film you can watch first.

- Style gallery (watch the 66 demo films) — official site
- GitHub: lemomo-ai/lemo-opuscar — source and full README
03Install: two lines in the terminal
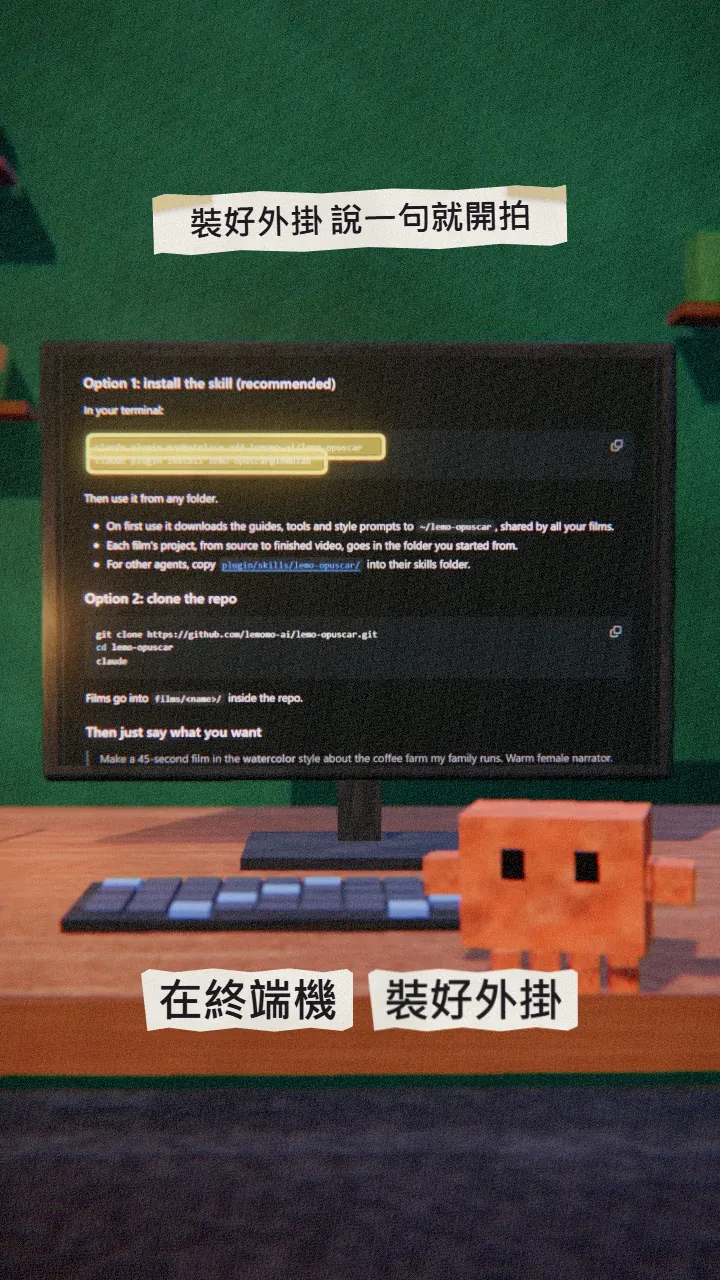
Make sure Claude Code is installed, then paste these two lines into your terminal:
claude plugin marketplace add lemomo-ai/lemo-opuscar
claude plugin install lemo-opuscar@lemolab
After that it works from any folder. On first use it downloads the guides, tools and style prompts to ~/lemo-opuscar; each film's project goes in the folder you started from.
04Say one line and it starts filming
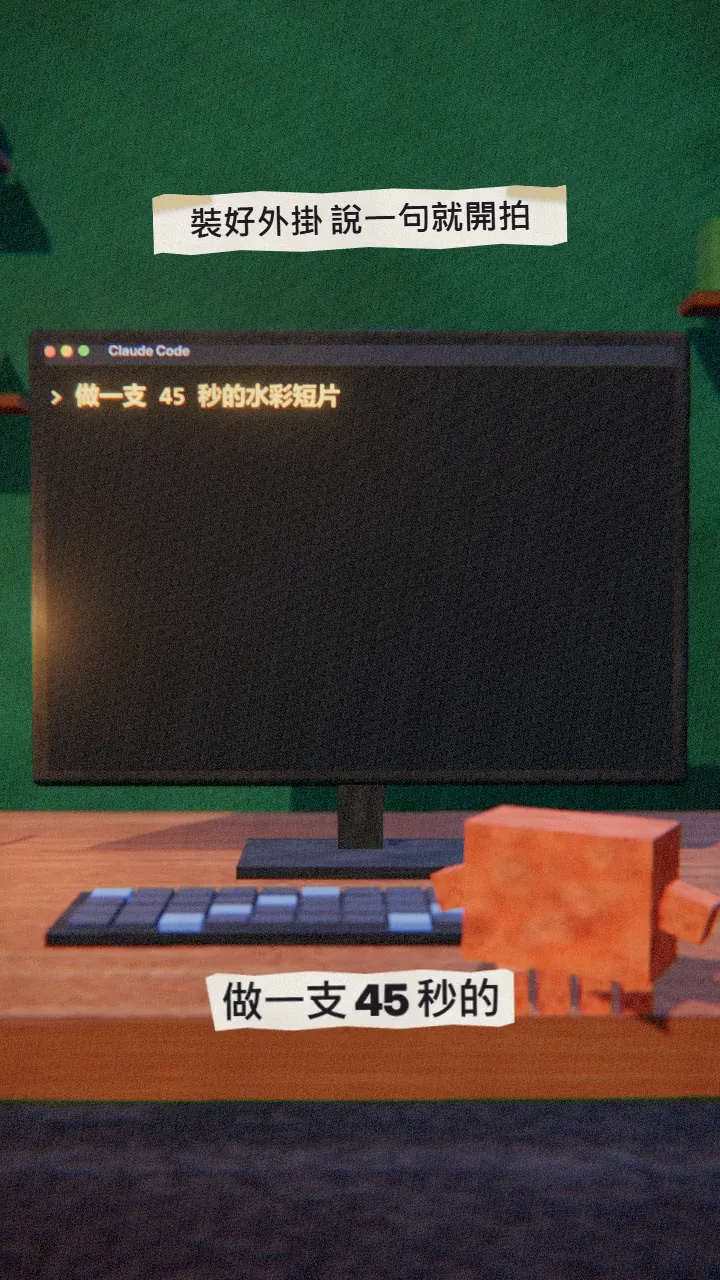
Make a [45]-second film in the [watercolor] style about [the coffee farm my family runs]. [Warm female] narrator.
You can name the style in English or Chinese. Not sure yet? Type the line below and it asks which language to use, then what you'd like to make.
/lemo-opuscar:lemo-opuscar
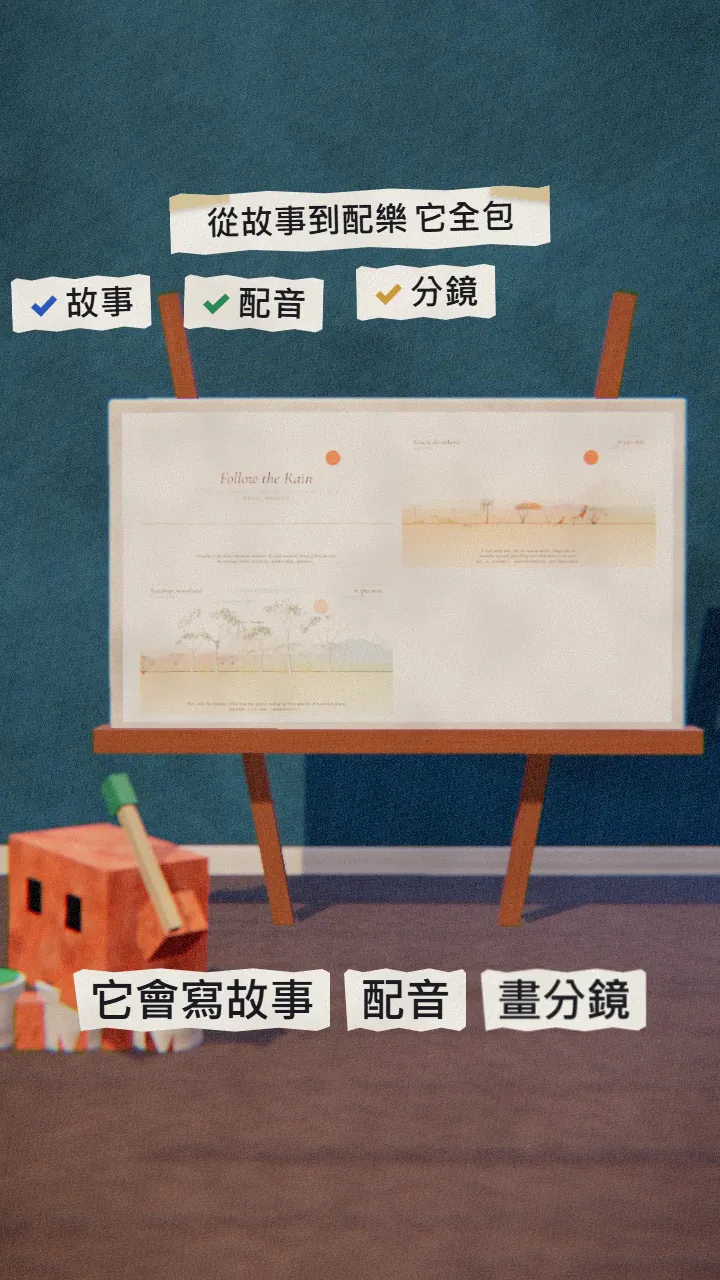
It asks you once, up front: anything it can't decide about your topic, whether you have your own voice or music, and whether you want to see a storyboard first. Say yes and it stops once to show the key shots; otherwise it goes straight to the finished film. The voice defaults to Kokoro (offline text-to-speech), and the picture is rendered frame by frame on canvas and WebGL.
05The best part: a style of your own
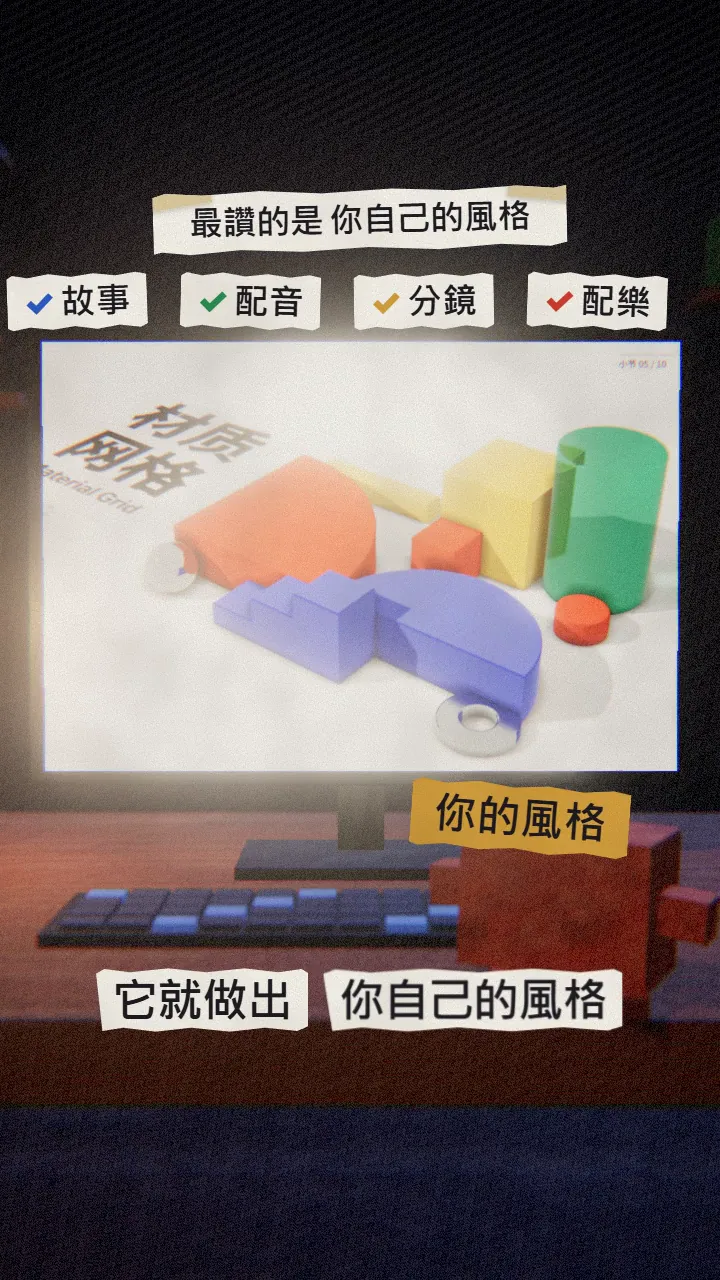
You can turn a library style into a version that's only yours, or start from a blank page. Tell it where the films will go (vertical feeds want 1080×1920), your brand colours, logo, fonts or recurring characters, and share a few pictures or films you like as references.
I want to change the [Ukiyo-e] style into my own version.
Start from a blank page: [a chalk-on-blackboard style, warm and slow]. My brand colours are [#2F6A52, #F3ECE0] and my logo is in [this folder].
It asks one question at a time, shows you one style frame drawn with the real code, then makes a 15–30 second demo film. Only when you're happy does it keep the style in ~/lemo-my-styles/; after that, say "make a film in my [style name] style" to use it.
06Good to know
- A film takes about 30–60 minutes and a fair amount of tokens; the plugin is free, Claude usage counts against your plan.
- The styles are tuned for Claude Opus 5.5; other models may not reproduce them.
- Default output is 1920×1080 at 24 fps; ask for 1080×1920 for vertical video.
- The official demo films may be shared and used commercially with credit to LemoLab and a link to the repo (CC BY 4.0); your own films aren't bound by that.
- Install only from lemomo-ai/lemo-opuscar on GitHub.
Sources
What should the next reel cover?
I test Claude and AI tools every day and turn the useful ones into reels. Follow @vivianlin.tech to catch each new guide.